The AB Electronics UK Knowledge Base provides support solutions, tutorials and troubleshooting guides.

-
Raspberry Pi Tutorials
- PCB Header Assembly Jig
- Raspberry Pi GPIO Pins
- Samba Setup on Raspberry Pi
- Set a static IP Address on Raspberry Pi OS Trixie
- Set a static IP Address on Raspberry Pi OS Buster
- Set a static IP Address on Raspberry Pi OS Wheezy
- I2C Part 1 - Introducing I2C
- I2C Part 2 - How to Enable I2C on the Raspberry Pi
- I2C Part 3 - I2C tools in Linux
- I2C Part 4 - Programming I2C with Python
- SPI and Python on Raspberry Pi OS
- Using Pythonpath with our Python Libraries
- Connecting Development Boards to the Raspberry Pi 400
- General
- Code & Languages
- Raspberry Pi Pico Tutorials
- 1 Wire Pi Tutorials
- ADC Pi Tutorials
- ADC DAC Pi Zero Tutorials
- ADC Differential Pi Tutorials
- Expander Pi Tutorials
-
IO Pi Plus Tutorials
- IO Pi Plus FAQ
- IO Pi Plus Tutorial 1 - The Blinking LED
- IO Pi Plus Tutorial 2 - Push the Button
- IO Pi Plus Tutorial 3 - Introducing Interrupts
- IO Pi Plus Tutorial 4 - More Interrupts
- IO Pi Plus Tutorial - MQTT Reading the Ports
- IO Pi Plus with Raspberry Pi Pico
- IO Pi Plus Tutorial - MQTT Control
- Driving Relays or Higher Loads with the IO Pi Plus
- 16 Channel Opto-Isolated Input Board
- Relay Board for the IO Pi Plus 2.1
- IO Zero 32 Tutorials
- RTC Pi Tutorials
- Serial Pi
- Servo PWM Pi Tutorials
-
Home Assistant
- Using 1 Wire with Home Assistant and the Raspberry Pi OS
- Using I2C Devices on the Raspberry Pi with Home Assistant
- Using the ADC Differential Pi with Home Assistant on the Raspberry Pi
- Using the ADC Pi with Home Assistant on the Raspberry Pi
- Using the IO Pi Plus with Home Assistant on the Raspberry Pi
-
Legacy Products
- ADC DAC Pi (Discontinued)
- ADC Pi (Discontinued)
- Buffer Pi - Legacy Product
- Com Pi (Discontinued)
- Delta-Sigma Pi (Discontinued)
- Expander Pi (Discontinued)
- IO Pi (Discontinued)
- IO Pi Plus 1.0 (Discontinued)
- IO Pi Zero (Discontinued)
- Logic Level Converter (Discontinued)
- RTC Alarm Pi (Discontinued)
- RTC Pi (Discontinued)
- Serial Pi (Discontinued)
- 1 Wire Pi (Discontinued)
- 1 Wire Pi Plus 1.0 (Discontinued)
- Other Supported Platforms
Using 4-20mA sensors with the ADC Pi
Using commercial 4-20mA sensors with the Raspberry Pi
We often receive enquiries about how to use commercial sensors with a 4-20mA output with the Raspberry Pi.
As many of the commercial sensors operate from a 24-volt supply and need to be isolated from the Raspberry Pi, it wouldn’t be possible to measure the output current across a load resistor directly on the ADC input as there would be the potential for the input voltage offset to be too high and damage the Raspberry Pi and ADC chips.
To resolve this, we found many commercial modules that convert the 4 to 20mA signals to a 0 to 5V output, which can then be read using the ADC Pi boards.
The conversion modules are often marketed on sites such as eBay called Current to Voltage Transmitter Signal Module 4-20MA to 0-5V Linear Conversion or similar and only cost a few pounds.
The photo below shows an example of one of the modules we purchased to test with the ADC Pi boards.

We also purchased a PT100 Temperature Sensor Transmitter, which outputs a 4-20mA signal from the PT100 sensor, and we connected this to the signal converter. The module uses a 24-volt supply, allowing us to test for the voltage conversion.
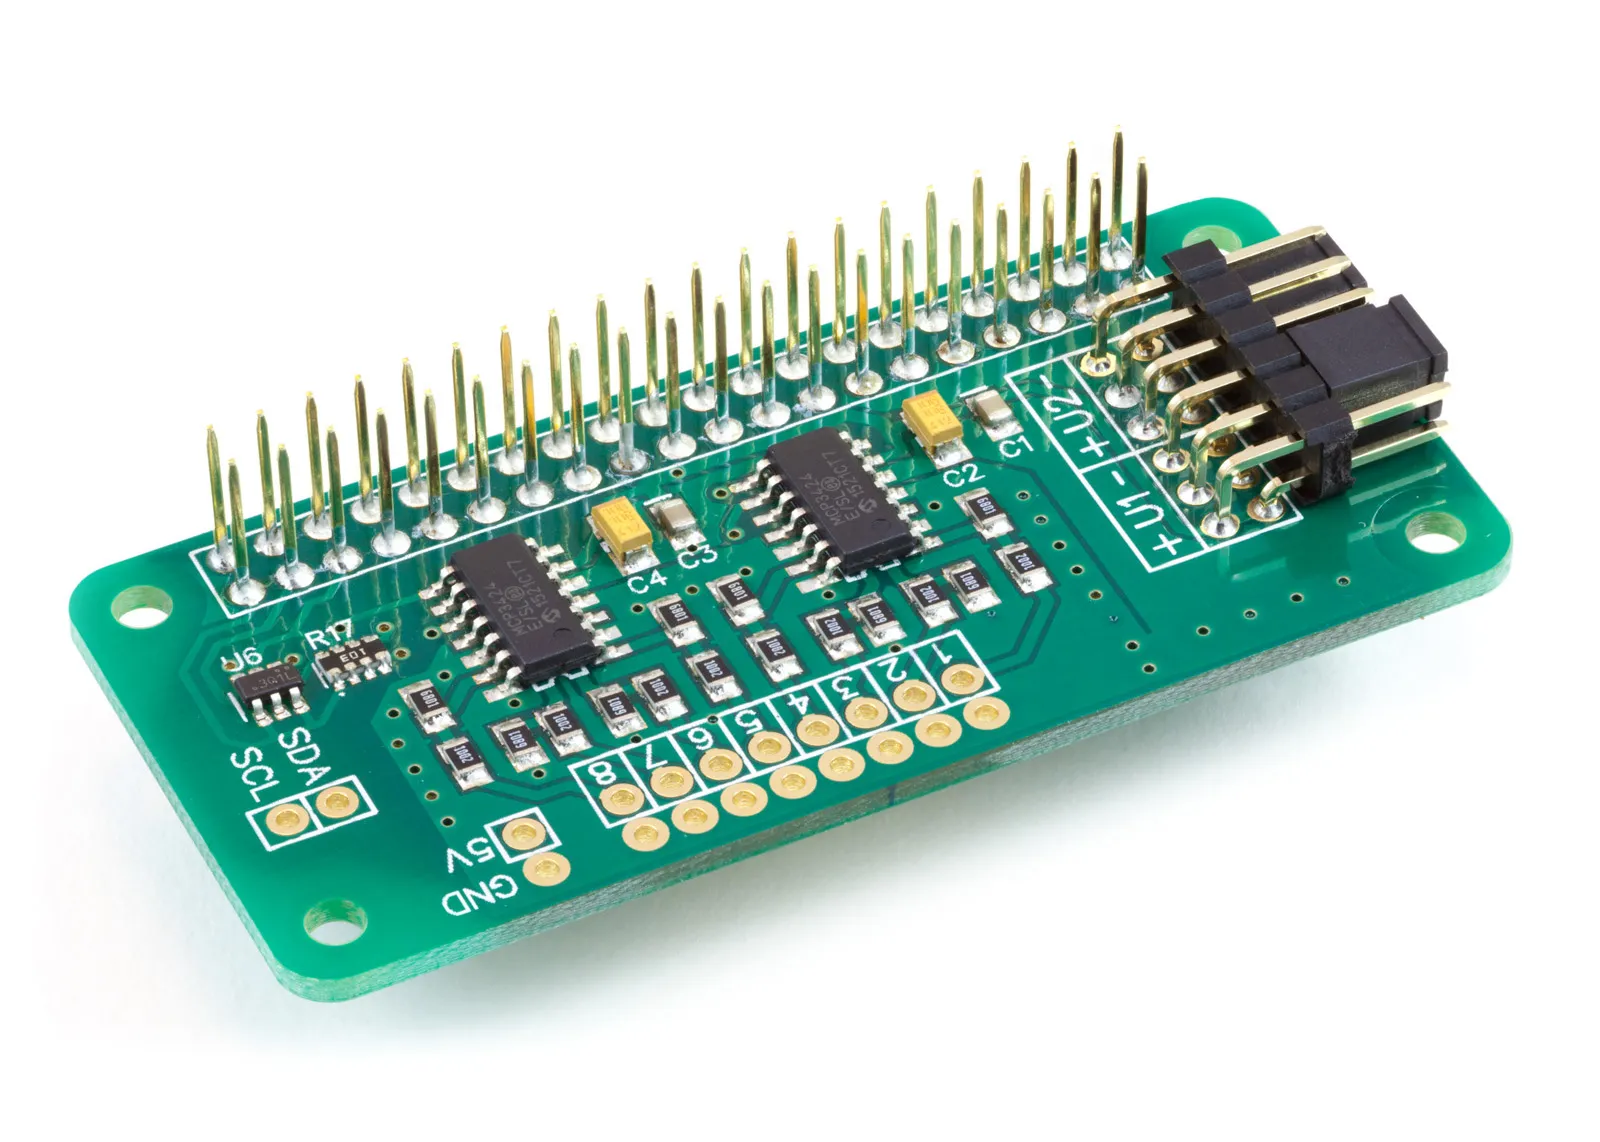
The output from the current-to-voltage module is then connected to one of the ADC Pi inputs, and you could use up to 8 of these current-to-voltage modules with a single ADC Pi.

We do not have any affiliation with the eBay sellers on the above links; these are just examples of the modules available.

Related Products

ADC Pi
8 Channel 17-bit Single-Ended Analogue to Digital Converter for the Raspberry Pi
£17.99 ex VAT