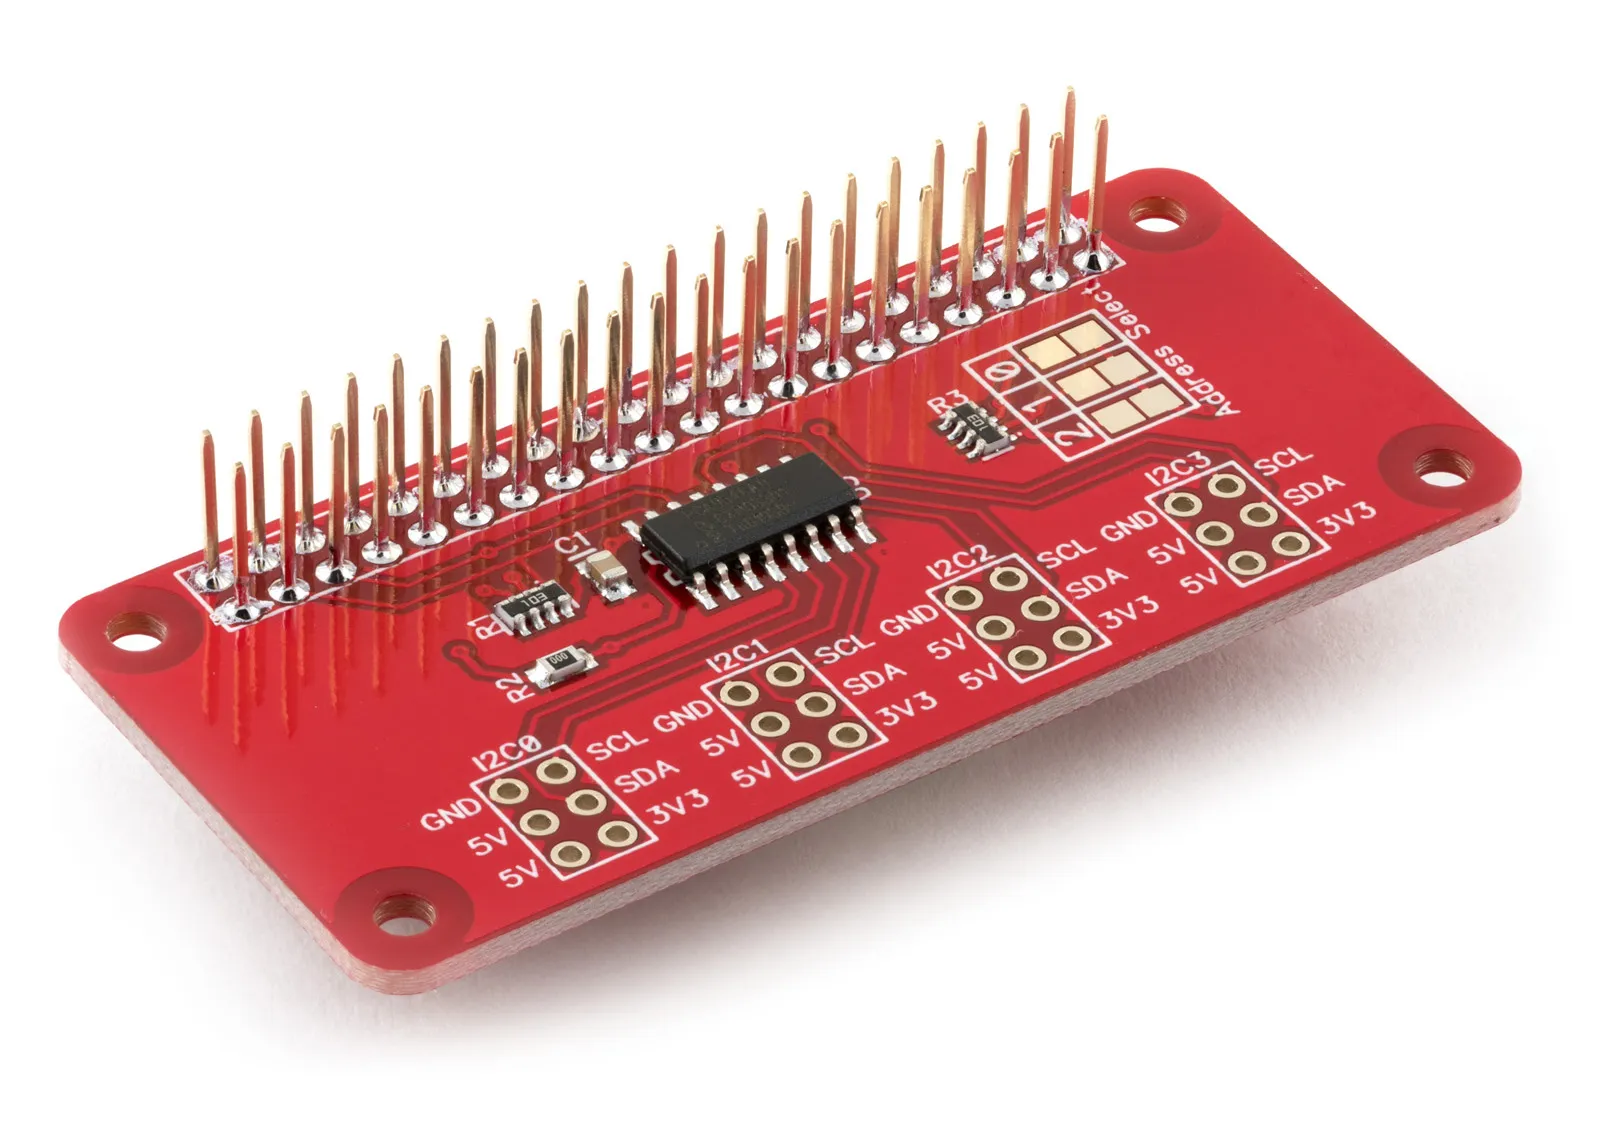
Node.js Library to use with the 4-channel I2C Switch.
Install
To download to your Raspberry Pi type in the terminal:
git clone https://github.com/abelectronicsuk/ABElectronics_NodeJS_Libraries.git
The I2C Switch library is located in the /lib/i2cswitch/ directory
The example files are located in the /examples/i2cswitch/ directory
The I2C Switch library requires the i2c-bus and rpio libraries to run.
Install i2c-bus from npm package repository i2c-bus with
npm install i2c-bus
Install rpio from npm package repository rpio with
npm install rpio
I2CSwitch Class
The I2CSwitch class contains the functions needed to control the channel state and reset the PCA9546A controller used on the I2C Switch.
I2CSwitch(address)
Parameter: address - 0x70 to 0x77. I2C address for the target device
Functions:
switchChannel(channel)
Enable the switch on the selected channel and disable all other channels
Parameter: channel - 1 to 4
Returns: null
setChannelState(channel, state)
Set the output on single channels
Parameter: channel - 1 to 4,
Parameter: true = channel enabled, false = channel disabled
Returns: null
getChannelState(channel)
Get the state of the specified channel
Parameter: channel - 1 to 4,
Returns: true = channel enabled, false = channel disabled
reset()
Reset the I2C switch.
Resetting allows the switch to recover from a situation in which one of the downstream I2C buses is stuck in a low state. All channels will be set to an off-state.
Returns: null
Usage
To use the I2C Switch library in your code you must first import the library:
var i2cswitch = require('../../lib/i2cswitch/i2cswitch');
Next, you must initialise the I2CSwitch object:
var switchobject = new I2CSwitch(0x70);
Set the switch to channel 4
switchobject.switchChannel(4);
Get the status of the selected channel and print it to the console
var result = switchobject.getChannelState(4)

if (result == true){
    console.log('Switched to channel 4')
}
else{
    console.log('Error switching to channel 4')
}

