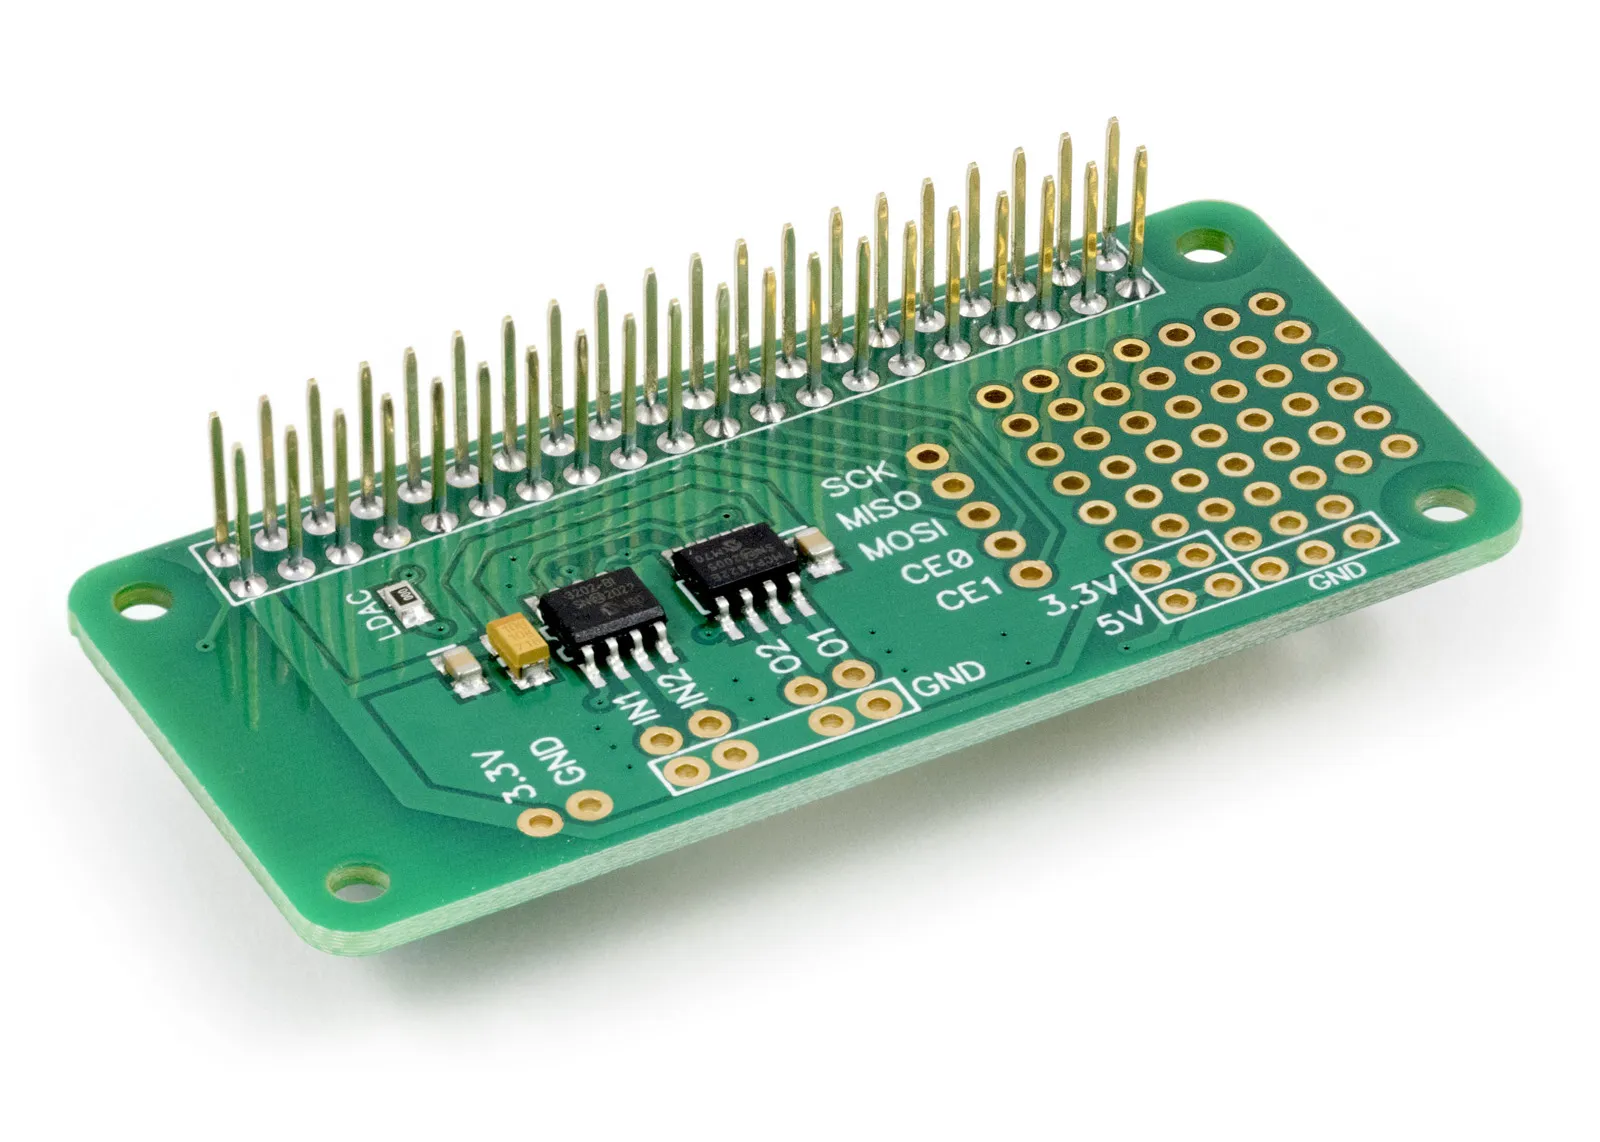
.Net Core Library to use with the ADC DAC Pi Raspberry Pi development boards.
Downloading and Installing the .Net Core Libraries
Download the zip archive containing the code demos and libraries from GitHub.
ADC DAC Pi Methods
ReadADCVoltage(byte channel)
Read the voltage from the selected channel on the ADC
Parameters: channel - 1 or 2
Returns: number as double between 0 and 3.3
ReadADCRaw(byte channel)
Read the raw value from the selected channel on the ADC
Parameters: channel - 1 or 2
Returns: Integer
SetDACVoltage(byte channel, double voltage)
Set the voltage for the selected channel on the DAC
Parameters: channel - 1 or 2, the voltage can be between 0 and 2.047 volts
Returns: null
SetDACRaw(byte channel, int value)
Set the raw value from the selected channel on the DAC
Parameters: channel - 1 or 2, value int between 0 and 4095
Returns: null
ADC DAC Pi Properties
double ADCReferenceVoltage {get; set;}
Gets or sets the reference voltage for the analogue to digital converter.
The ADC uses the raspberry pi 3.3V power as a reference so using this property to set the reference to match the exact output voltage from the 3.3V regulator will increase the accuracy of the ADC readings.
byte DACGain {get; set;}
Gets or Sets the gain for the DAC.
When gain = 1 the voltage range will be 0V to 2.047V
When gain = 2 the voltage range will be 0V to VCC which is typically 3.3V on a Raspberry Pi.
ADC DAC Pi Usage
To use the ADCDACPi library in your code you must first import the library DLL:
using ABElectronicsUK;
Next, you must initialise the ADCDACPi class:
ABElectronicsUK.ADCDACPi adcdac = new ABElectronicsUK.ADCDACPi();
Next, we need to connect to the device and wait for the connection
adcdac.Connect();

while (!adcdac.IsConnected){}
Set the reference voltage.
ADCReferenceVoltage = 3.3;
Read the voltage from channel 2
double value = adcdac.ReadADCVoltage(2);
Set the DAC voltage on channel 2 to 1.5 volts
adcdac.SetDACVoltage(2, 1.5);

