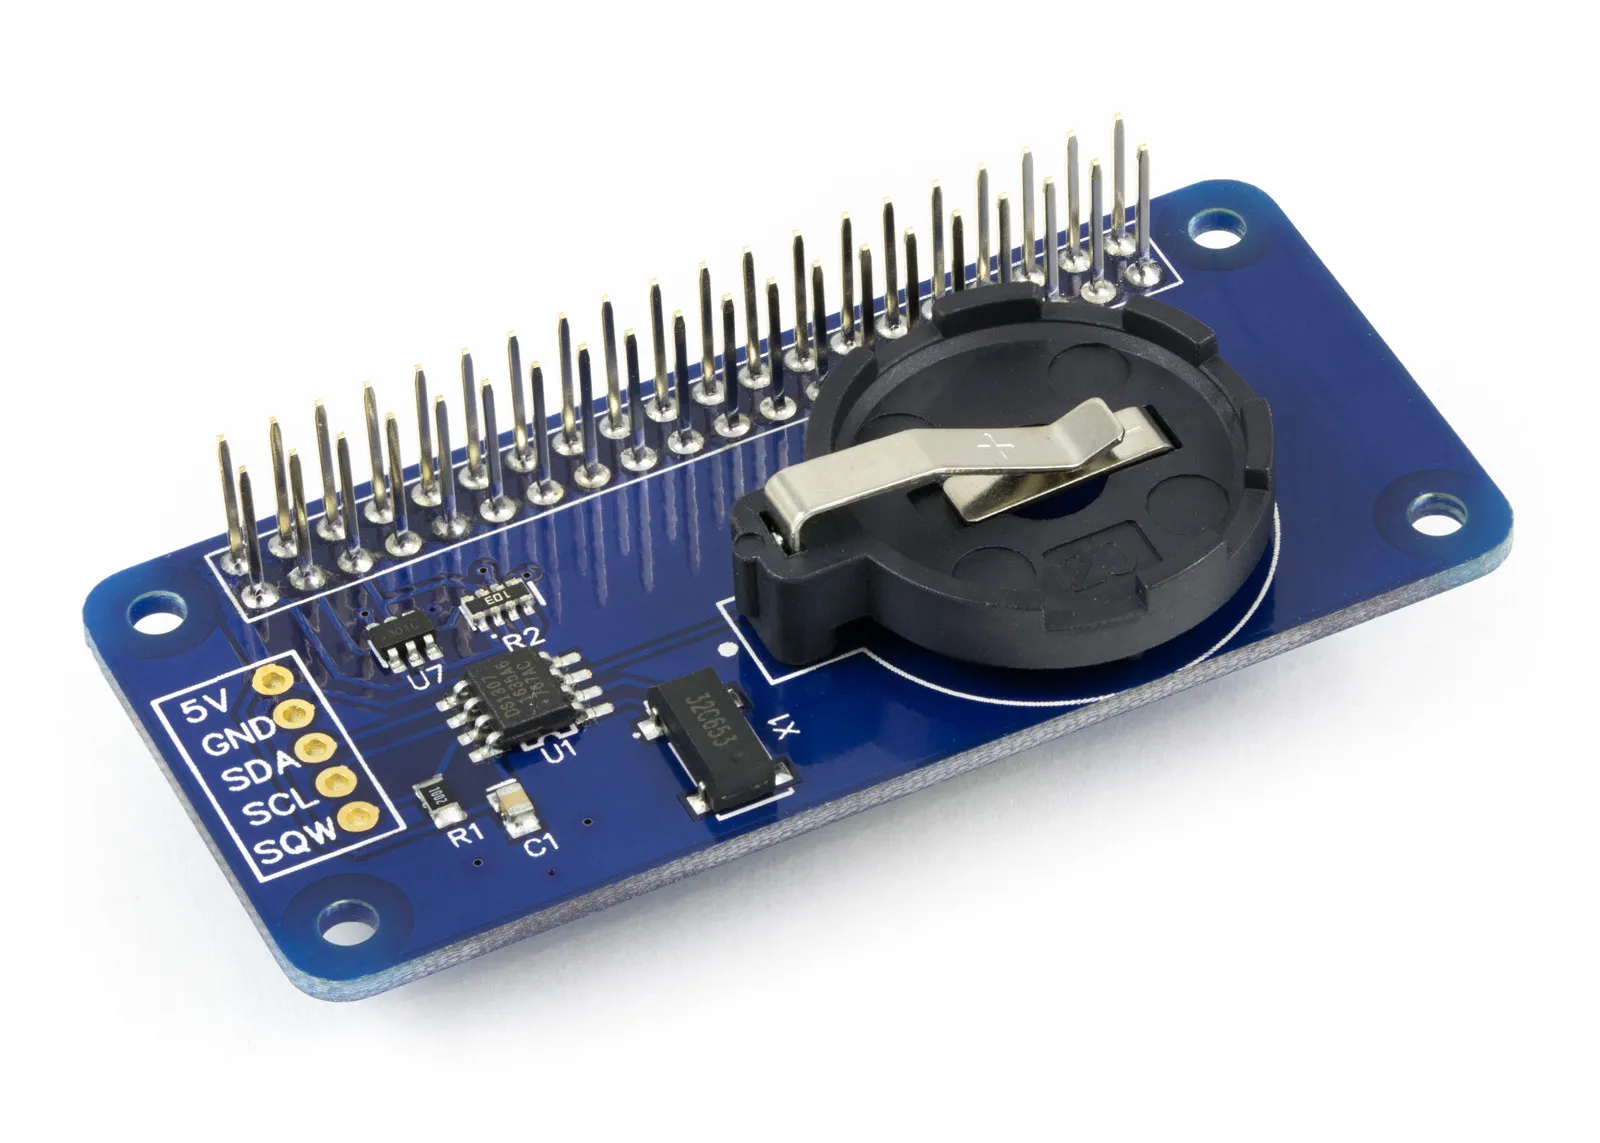
Python Library to use with RTC Pi Raspberry Pi real-time clock board.
The example python files can be found in /ABElectronics_Python_Libraries/RTCPi/demos
Downloading and Installing the library
Python 3
To install the library you will need the Python3 build and install packages. To install them run the following command.
sudo apt update
sudo apt install python3-build python3-installer git
Download the ABElectronics_Python_Libraries to your Raspberry Pi:
git clone https://github.com/abelectronicsuk/ABElectronics_Python_Libraries.git
To install the python library navigate into the ABElectronics_Python_Libraries folder and run:
python3 -m build
sudo python3 -m installer dist/*.whl
Using classes without installing the library
To use a specific part of our Python library in your project without installing the entire library, you can simply copy the needed class file into your project's directory. For example, to use the RTC Pi, copy the RTCPi.py file from the RTCPi directory to where your project files are located. After doing this, you can use the class in your program by adding an import statement at the beginning of your Python code. This allows you to directly utilize the class's functionality in your project.
from RTCPi import RTCPi
Required Libraries
The library requires smbus2 or python-smbus to be installed
For Python 3:
sudo pip3 install smbus2
Class:
RTC(bus)
Parameters:
bus (optional): I2C bus number (integer). If no value is set the class will try to find the i2c bus automatically using the device name.
Functions:
set_date(date)
Set the date and time on the RTC in ISO 8601 format - YYYY-MM-DDTHH:MM:SS
Parameters: date
Returns: null
read_date()
Returns the date from the RTC in ISO 8601 format - YYYY-MM-DDTHH:MM:SS
Returns: date
enable_output()
Enable the square-wave output on the SQW pin.
Returns: null
disable_output()
Disable the square-wave output on the SQW pin.
Returns: null
set_frequency(frequency)
Set the frequency for the square-wave output on the SQW pin.
Parameters: frequency - options are: 1 = 1Hz, 2 = 4.096KHz, 3 = 8.192KHz, 4 = 32.768KHz
Returns: null
write_memory(address, valuearray)
Write to the memory on the ds1307. The ds1307 contains 56-Byte, battery-backed RAM with Unlimited Writes
Parameters: address - 0x08 to 0x3F
valuearray - byte array containing data to be written to memory
Returns: null
read_memory(address, length)
Read from the memory on the ds1307
Parameters: address - 0x08 to 0x3F length - up to 32 bytes.
length can not exceed the available address space.
Returns: array of bytes
Usage
To use the RTC Pi library in your code you must first import the library:
from RTCPi import RTC
Next, you must initialise the RTC object:
rtc = RTC()
Set the current time in ISO 8601 format:
rtc.set_date("2013-04-23T12:32:11")
Enable the square-wave output at 8.192KHz on the SQW pin:
rtc.set_frequency(3)
rtc.enable_output()
Read the current date and time from the RTC at 1-second intervals:
while (True):
  print rtc.read_date()
  time.sleep(1)

