The AB Electronics UK Knowledge Base provides support solutions, tutorials and troubleshooting guides.

The Raspberry Pi 400 is a compact all-in-one computer with a quad-core 64-bit processor, 4GB of RAM, wireless networking, and dual-display output. But what sets the Raspberry Pi 400 apart is its 40-pin GPIO header, which allows you to add even more functionality to your computer with development boards.
This guide will show you how to connect your Raspberry Pi 400 development boards.
The Benefits of Adding Development Boards to the Raspberry Pi 400:
Increased functionality: Development boards can add new capabilities to your Raspberry Pi, such as analogue-to-digital and digital-to-analogue conversion, real-time clock functionality, and additional GPIO pins for connecting more sensors and devices.
Simplified connections: Development boards make it easier to connect sensors and other devices to your Raspberry Pi, reducing the complexity of wiring and making it easier to connect and disconnect devices as needed.
Enhanced performance: Development boards can improve the performance of your Raspberry Pi by offloading certain functions and allowing the CPU to focus on other tasks.

The Raspberry Pi 400 runs the same Raspberry Pi OS Linux distribution as the other Raspberry Pi models, and the 40-pin GPIO header uses the same pin configuration.
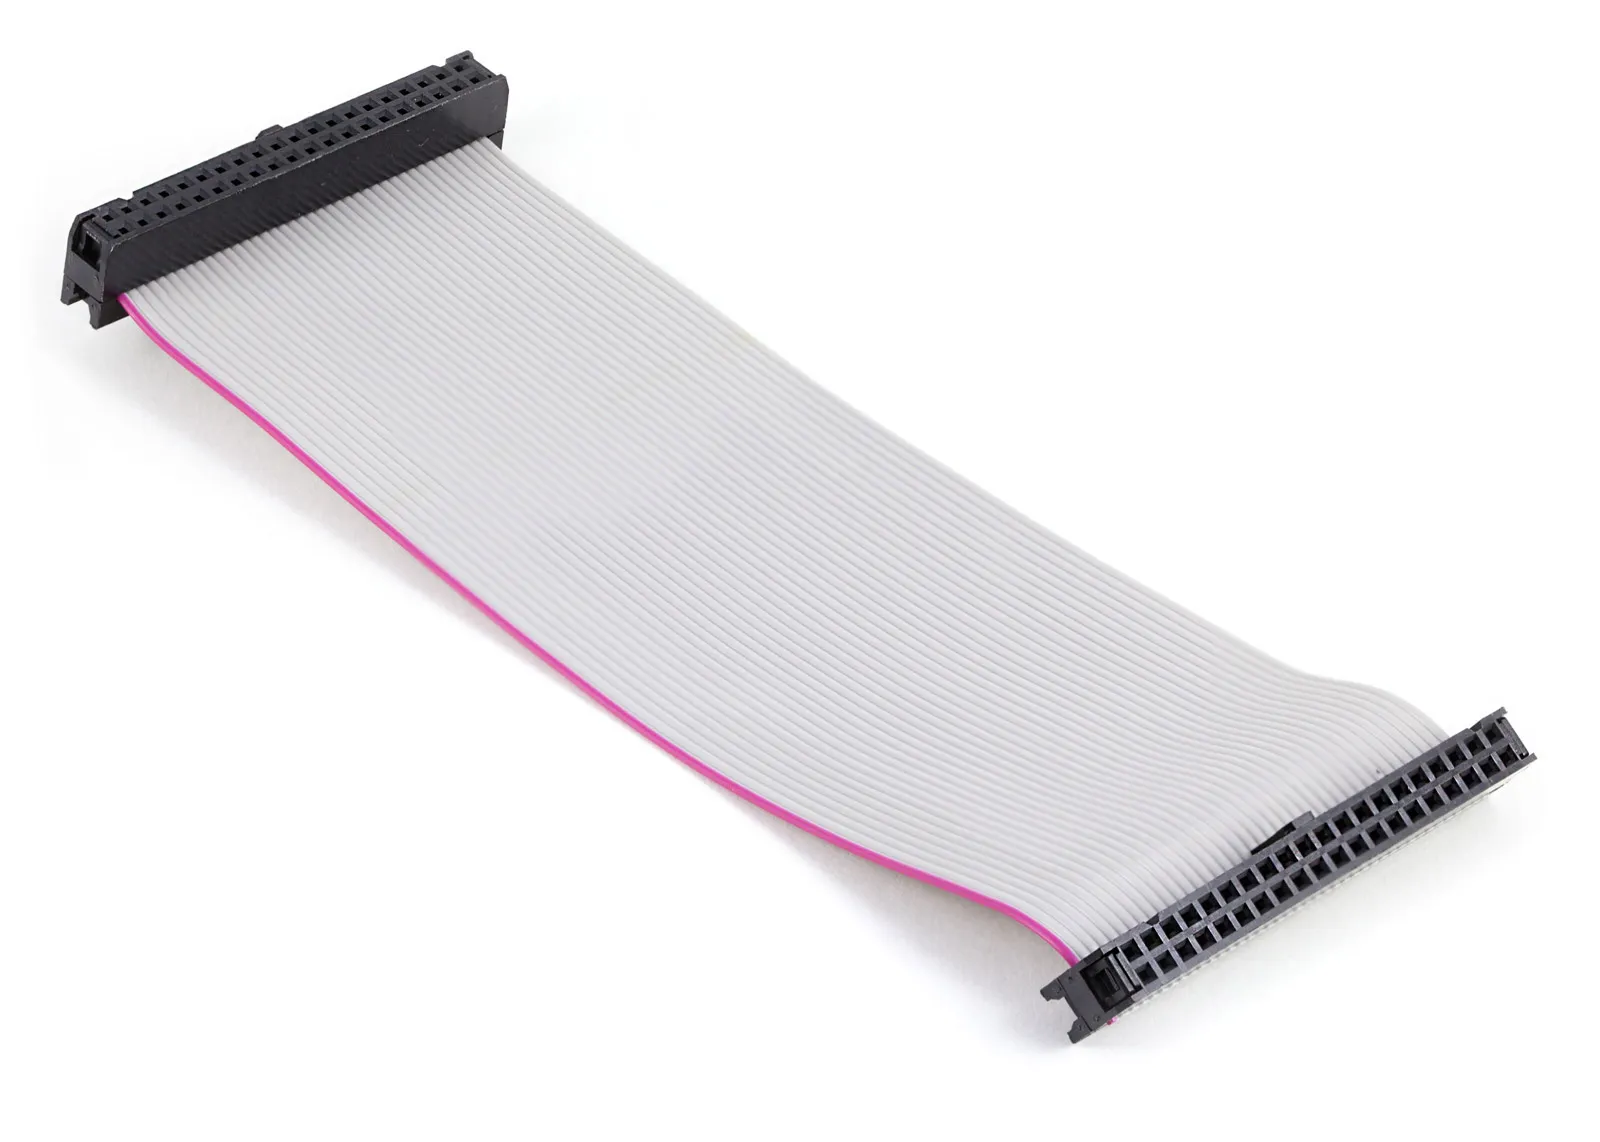
All the Raspberry Pi development boards from AB Electronics UK are compatible with the Raspberry Pi 400. They can be connected directly to the GPIO header on the back of the computer or using a 40-way ribbon cable available in our online store.
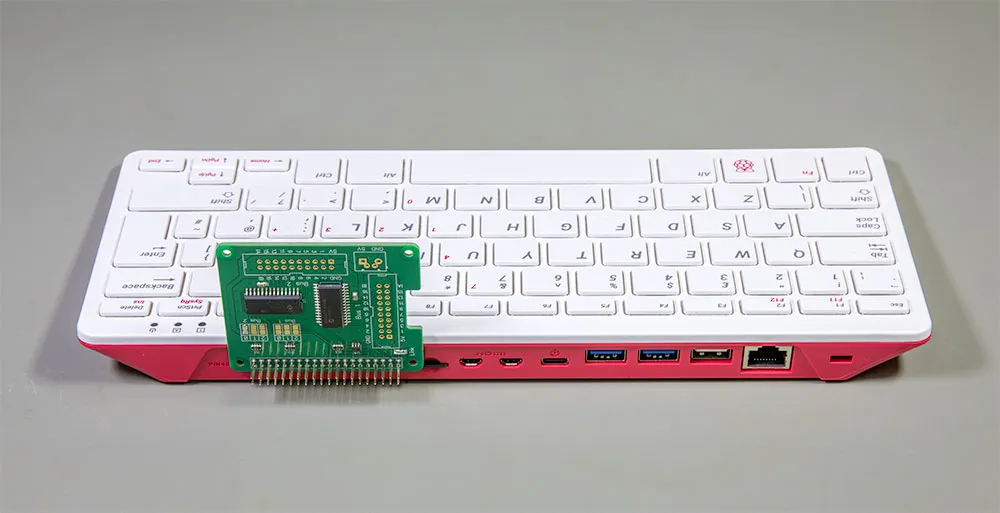
The photos below show how to connect your development board directly to the back of the Raspberry Pi 400. The board needs to be connected with the circuit board pointing upwards and the components facing away from the Raspberry Pi.

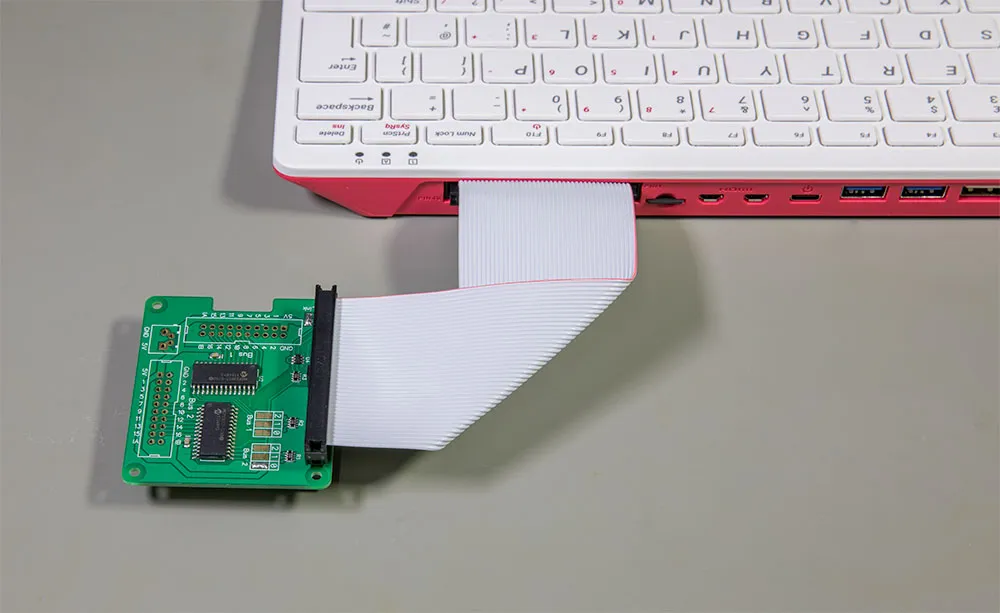
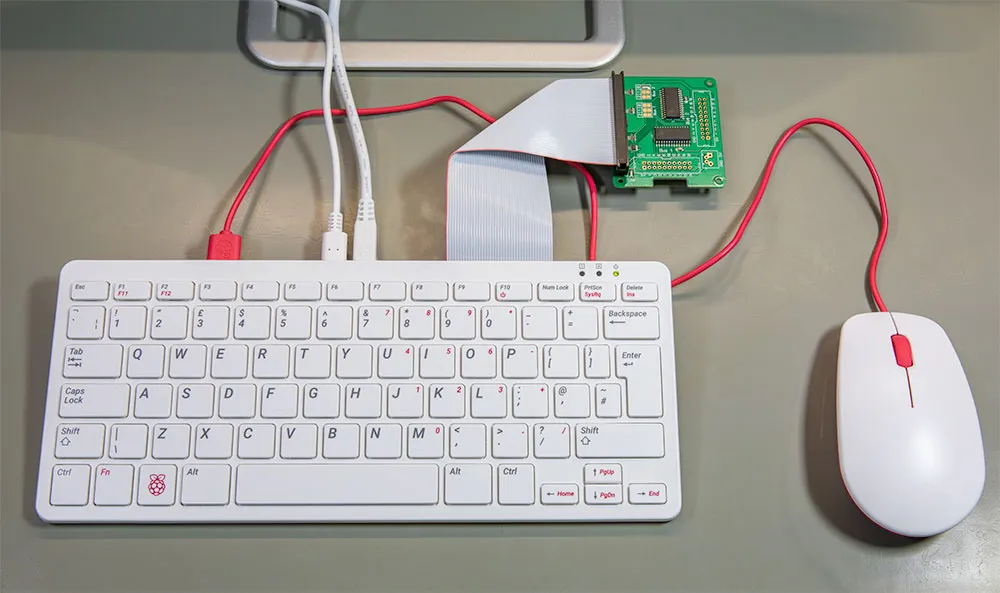
You can use a ribbon cable to connect the development boards externally, as shown in the photos below. The red line on the ribbon cable should align with pin 1 on the Raspberry Pi GPIO header and the development board.
After installing the development board, turn on the Raspberry Pi and configure the Raspberry Pi OS using the tutorials in our knowledge base.
- For I2C-based development boards, use I2C Part 2 - Enabling I²C on the Raspberry Pi.
- For SPI-based development boards, use SPI and Python on Raspberry Pi OS.
- For Serial-based development boards, use the Serial Port setup in Raspberry Pi OS.
Also useful for your Raspberry Pi project
Temperature & Sensing
1 Wire Pi Plus
Connect dozens of 1-Wire sensors - temperature, iButtons, EEPROMs - via a single GPIO pin. Stacks directly on the 40-pin header.
Analogue I/O
ADC Pi
Read up to 8 analogue inputs - perfect for pairing with your temperature sensors or other analogue-output devices.
All-in-one
Expander Pi
Combines ADC, DAC, 32 GPIO ports and a real-time clock on one board. The most versatile board for complex Raspberry Pi projects.
Related Articles
- Raspberry Pi GPIO Pins
- PCB Header Assembly Jig
- Samba Setup on Raspberry Pi
- Set a static IP Address on Raspberry Pi OS Trixie
- Set a static IP Address on Raspberry Pi OS Buster
- Set a static IP Address on Raspberry Pi OS Wheezy
- I2C Part 1 - Introducing I2C
- I2C Part 2 - How to Enable I2C on the Raspberry Pi
- I2C Part 3 - I2C tools in Linux
- I2C Part 4 - Programming I2C with Python
- SPI and Python on Raspberry Pi OS
- Using Pythonpath with our Python Libraries
- Connecting Development Boards to the Raspberry Pi 400
Order these Boards

1 Wire Pi Plus
1 Wire interface development board for the Raspberry Pi and Single-Board Computers
£11.99 ex VAT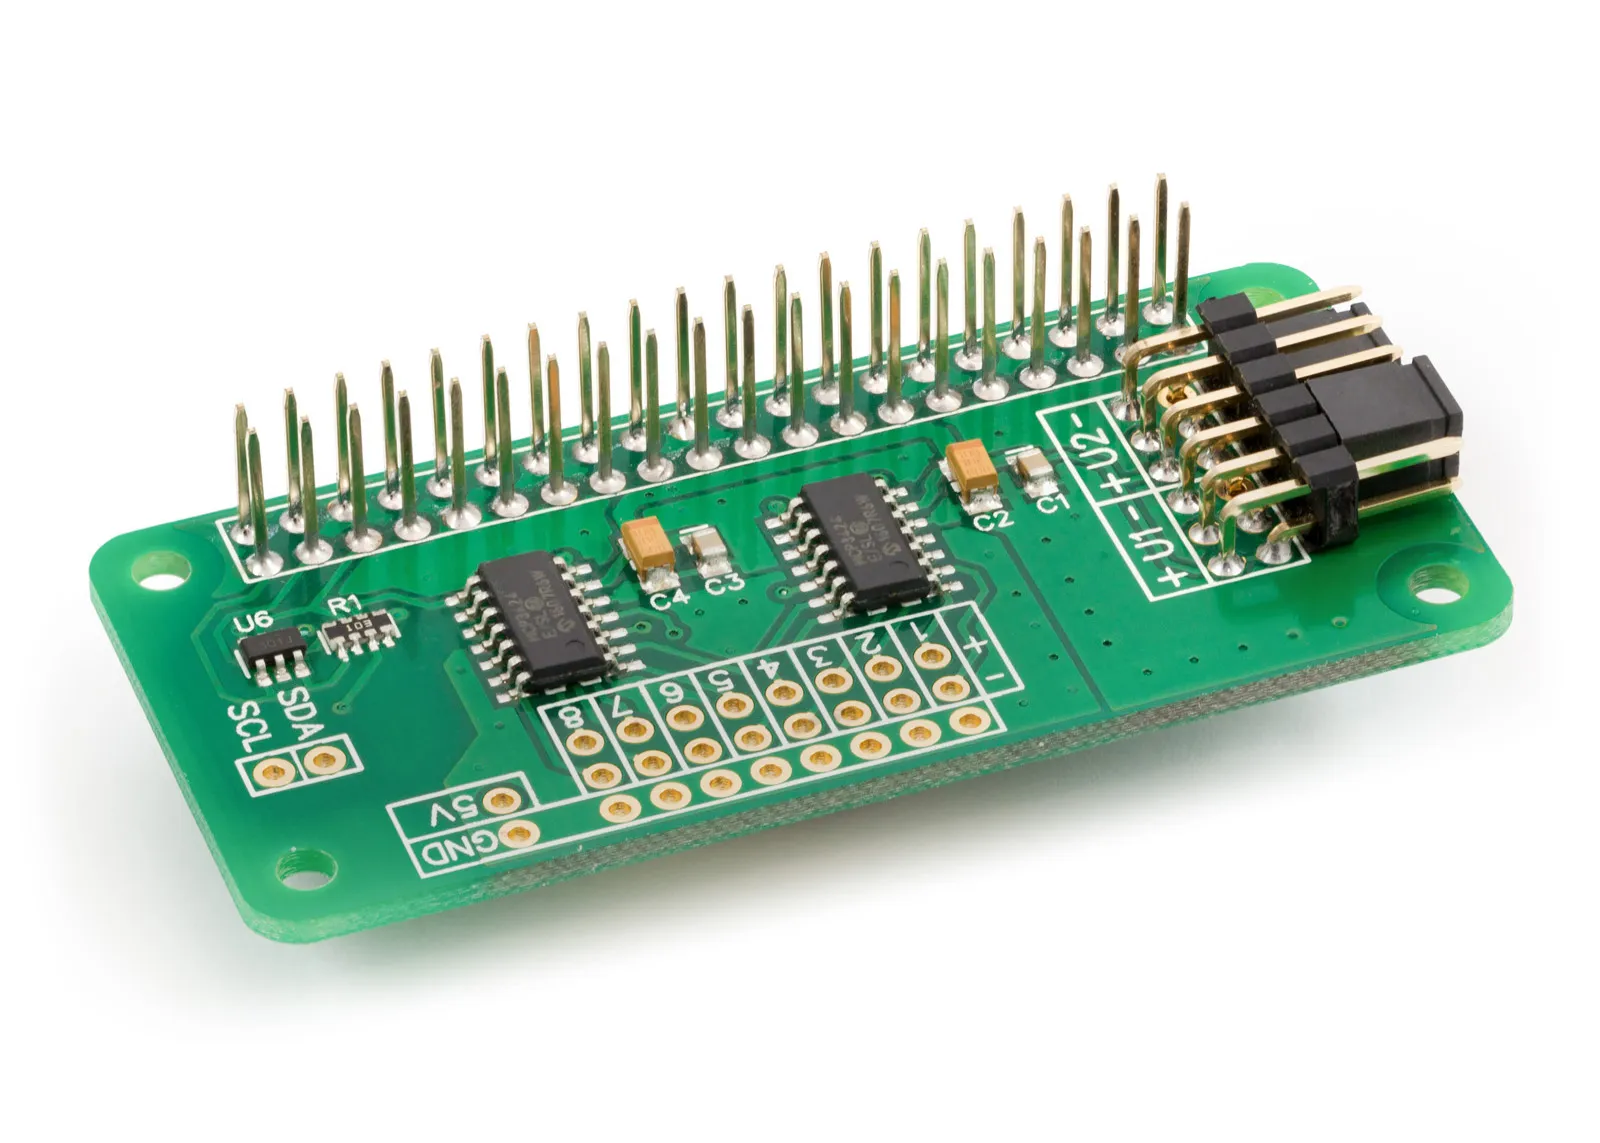
ADC Differential Pi
8 Channel 18-bit Differential Analogue to Digital converter development board for the Raspberry Pi
£16.99 ex VAT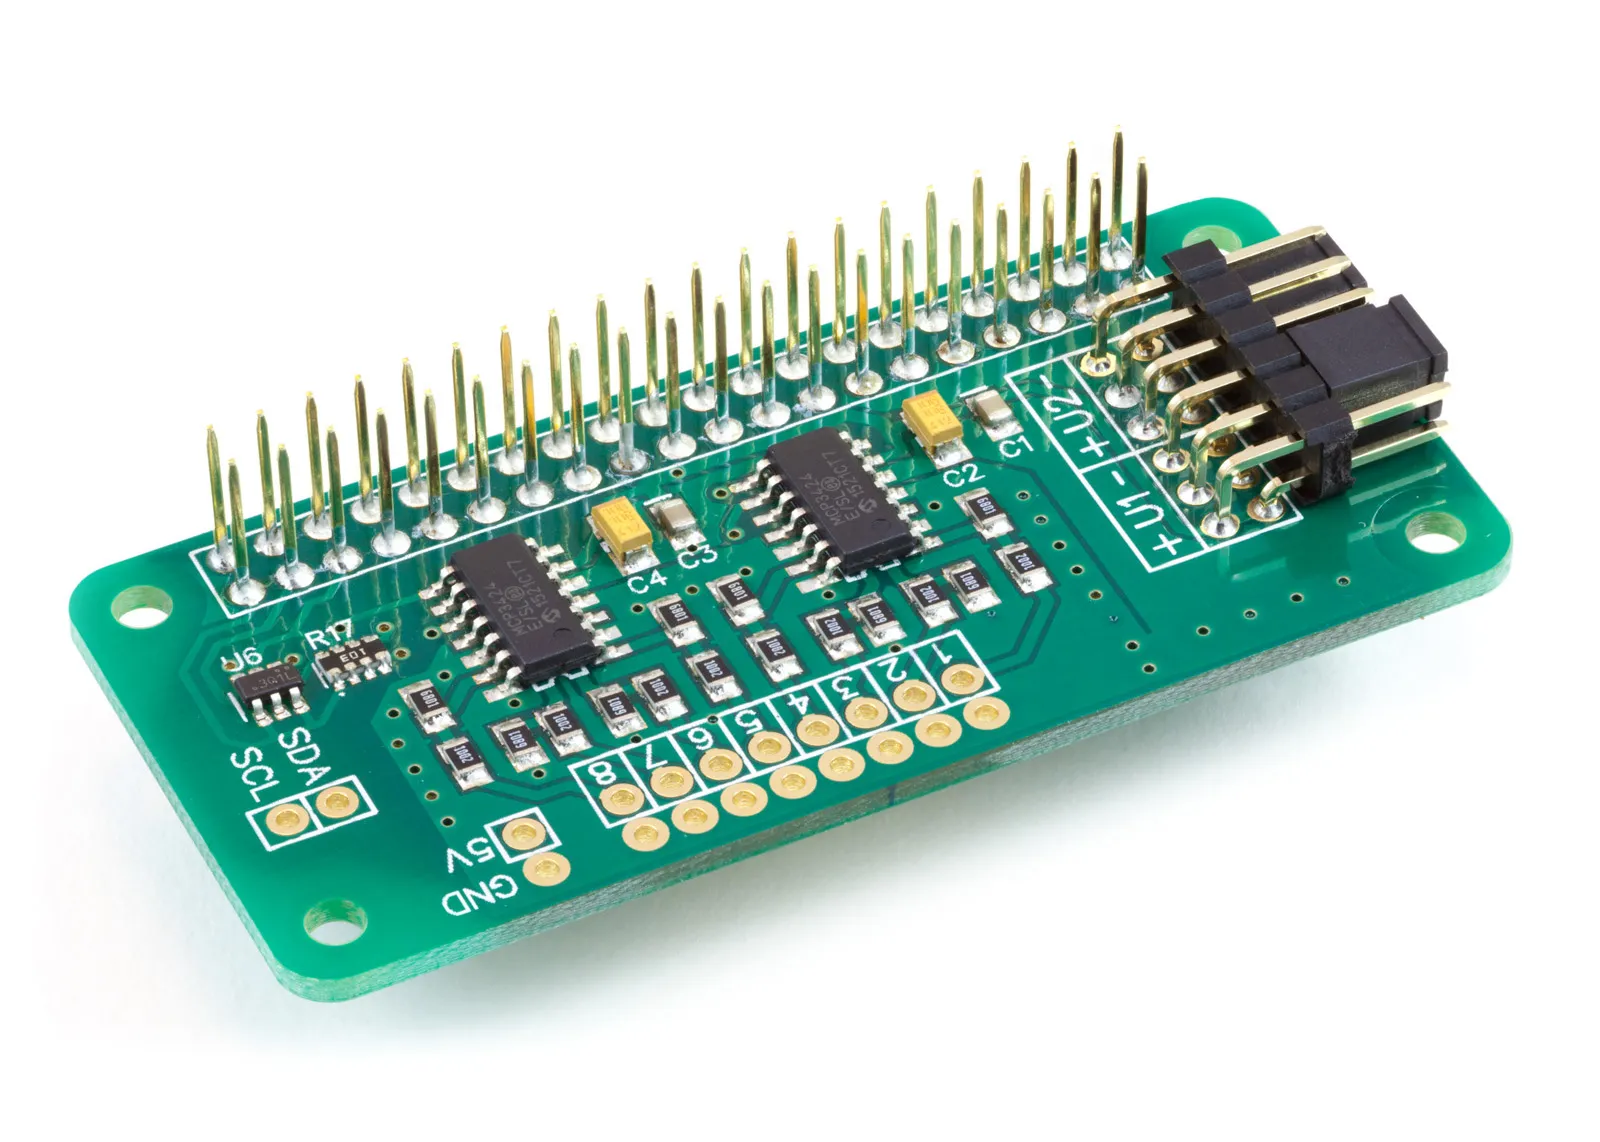
ADC Pi
8 Channel 17-bit Single-Ended Analogue to Digital Converter for the Raspberry Pi and Single-Board Computers
£17.99 ex VAT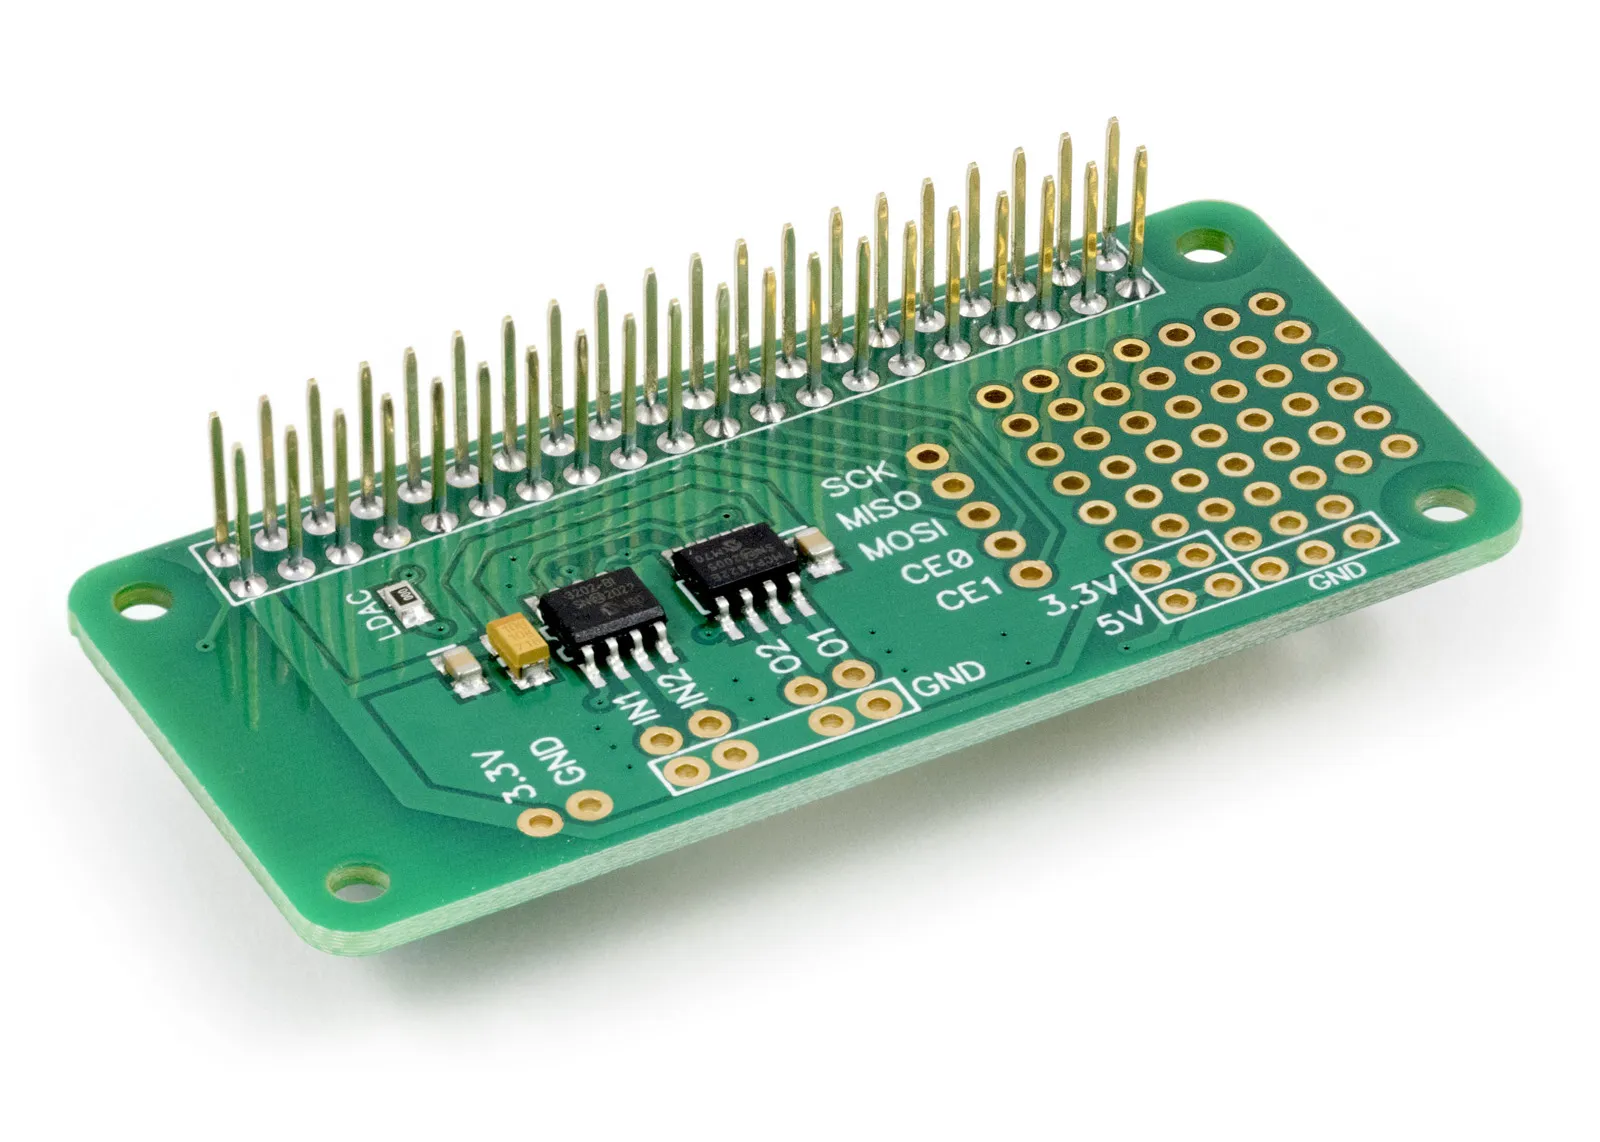
ADC-DAC Pi Zero
2 Channel ADC and 2 Channel DAC development board for the Raspberry Pi
£12.49 ex VAT


Serial Pi Plus
RS232 Serial Port development board for the Raspberry Pi and Single-Board Computers
£10.99 ex VAT