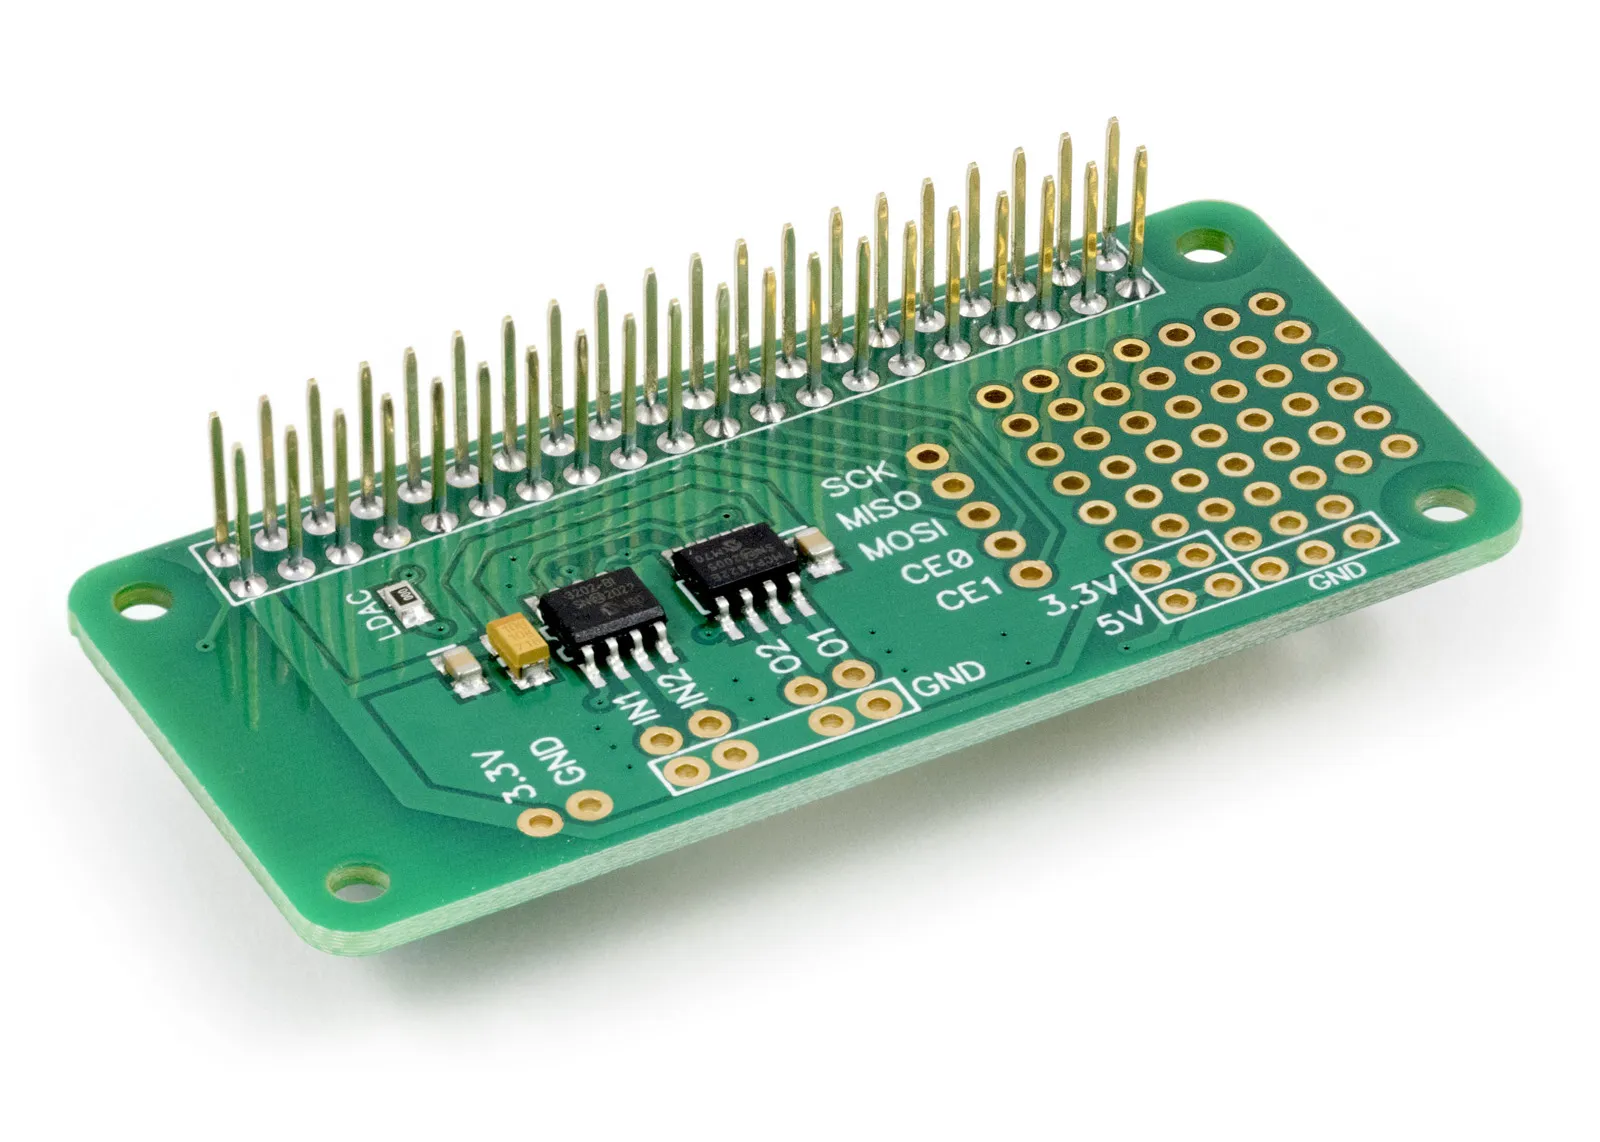
Python Library to use with ADC DAC Pi Zero Raspberry Pi development board.
The example python files can be found in /ABElectronics_Python_Libraries/ADCDACPi/demos.
Downloading and Installing the library
Python 3
To install the library you will need the Python3 build and install packages. To install them run the following command.
sudo apt update
sudo apt install python3-build python3-installer git
Download the ABElectronics_Python_Libraries to your Raspberry Pi:
git clone https://github.com/abelectronicsuk/ABElectronics_Python_Libraries.git
To install the python library navigate into the ABElectronics_Python_Libraries folder and run:
python3 -m build
sudo python3 -m installer dist/*.whl
Using classes without installing the library
To use a specific part of our Python library in your project without installing the entire library, you can simply copy the needed class file into your project's directory. For example, to use the ADC DAC Pi, copy the ADCDACPi.py file from the ADCDACPi directory to where your project files are located. After doing this, you can use the class in your program by adding an import statement at the beginning of your Python code. This allows you to directly utilize the class's functionality in your project.
from ADCDACPi import ADCDACPi
Required Libraries
The library requires spidev to be installed
View our knowledgebase article SPI and Python on Raspberry Pi OS for installation instructions.
Functions:
Initialising the ADCDACPi object.
adcdac = ADCDACPi(gain_factor)
Parameter: gain_factor - 1 or 2 When the gain is set to 1 the voltage range of the DAC will be 0 to 2.048V. When the gain is set to 2 the voltage will be 0 to 3.3V
read_adc_voltage(channel, mode)
Read the voltage from the selected channel on the ADC
Parameter: channel - 1 or 2
Parameter: mode - 0 = single-ended, 1 = differential
Returns: number as a float between 0 and 2.048
read_adc_raw(channel, mode)
Read the raw value from the selected channel on the ADC
Parameter: channel - 1 or 2
Parameter: mode - 0 = single-ended, 1 = differential
Returns: int
set_adc_refvoltage(voltage)
Set the reference voltage for the analogue to digital converter.
The ADC uses the raspberry pi 3.3V power as a voltage reference so using this method to set the reference to match the exact output voltage from the 3.3V regulator will increase the accuracy of the ADC readings.
Parameters: voltage
Returns: null
set_dac_voltage(channel, voltage)
Set the voltage for the selected channel on the DAC. The DAC has two gain values, 1 or 2, which can be set when the ADCDACPi object is created. A gain of 1 will give a voltage between 0 and 2.047 volts. A gain of 2 will give a voltage between 0 and 3.3 volts.
Parameters: channel - 1 or 2, voltage - target DAC voltage
Returns: null
set_dac_raw(channel, value)
Set the raw value for the selected channel on the DAC
Parameters: channel - 1 or 2, value int between 0 and 4095
Returns: null
Usage
To use the ADC DAC Pi library in your code you must first import the library:
from ADCDACPi import ADCDACPi
Next you must initialise the ADCDACPi object and set a gain of 1 or 2 for the DAC:
adcdac = ADCDACPi(1)
Set the reference voltage.
adcdac.set_adc_refvoltage(3.3)
Read the voltage from channel 2 and display it on the screen
print adcdac.read_adc_voltage(2)

