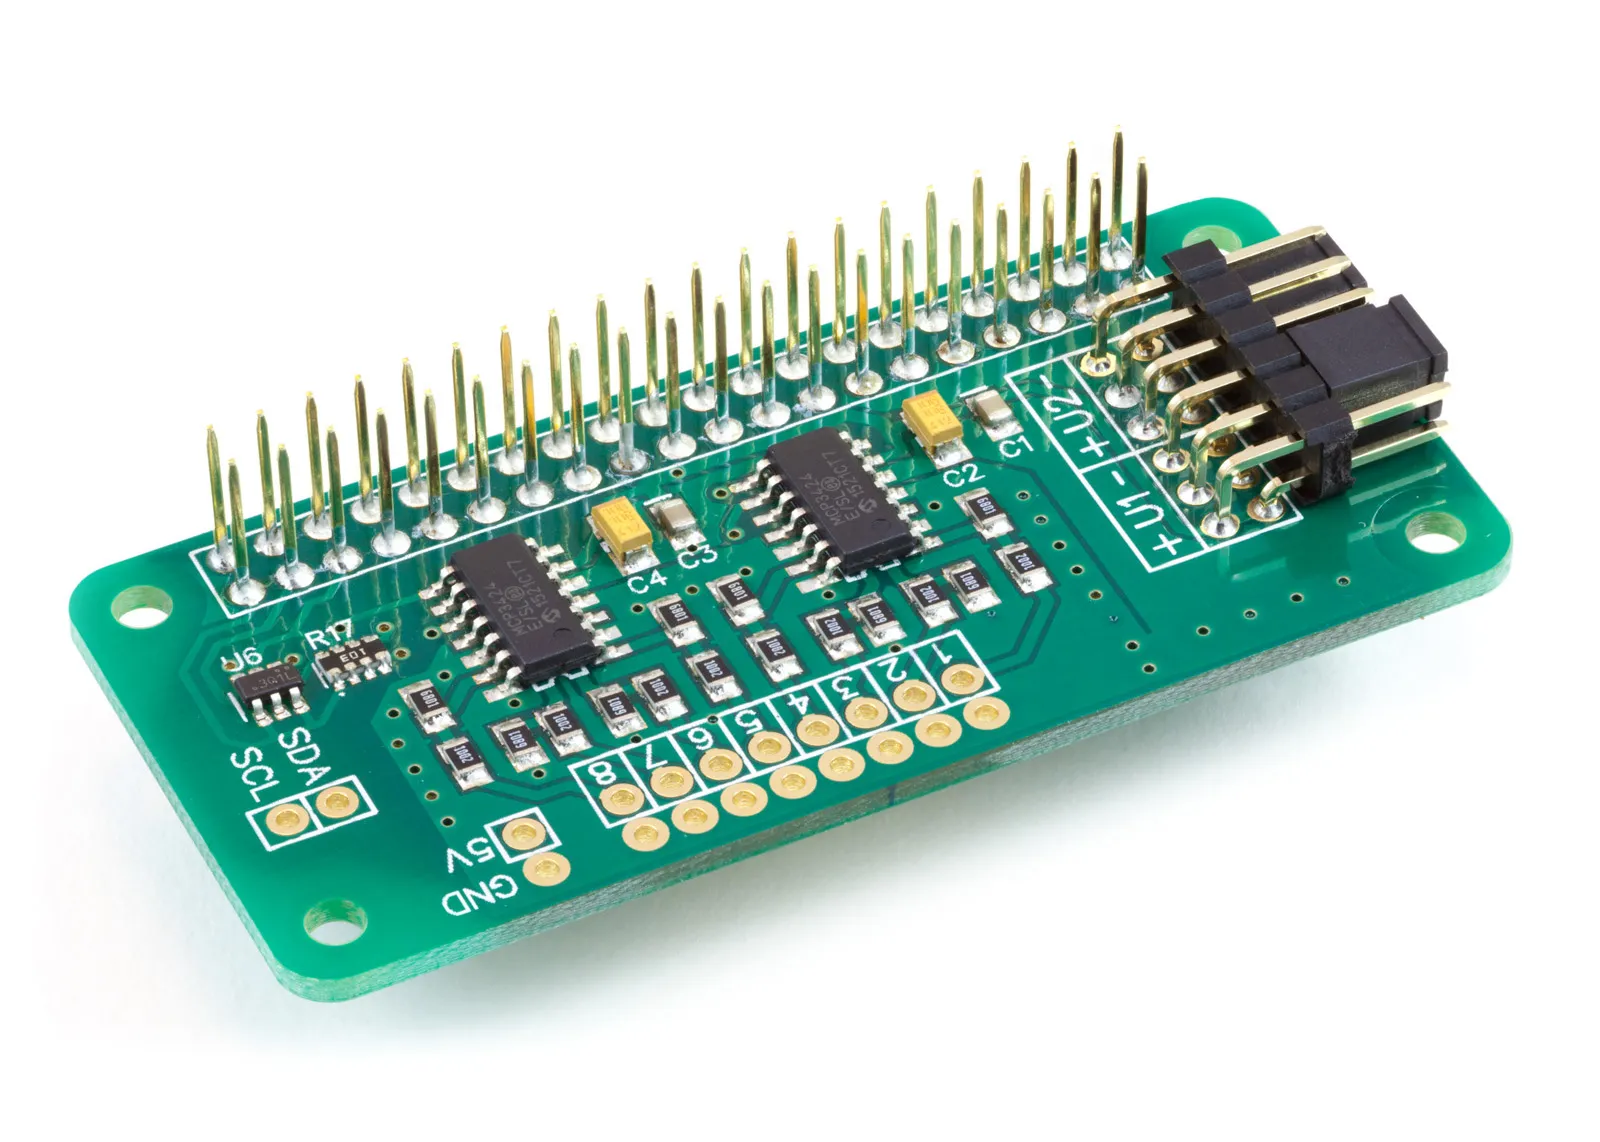
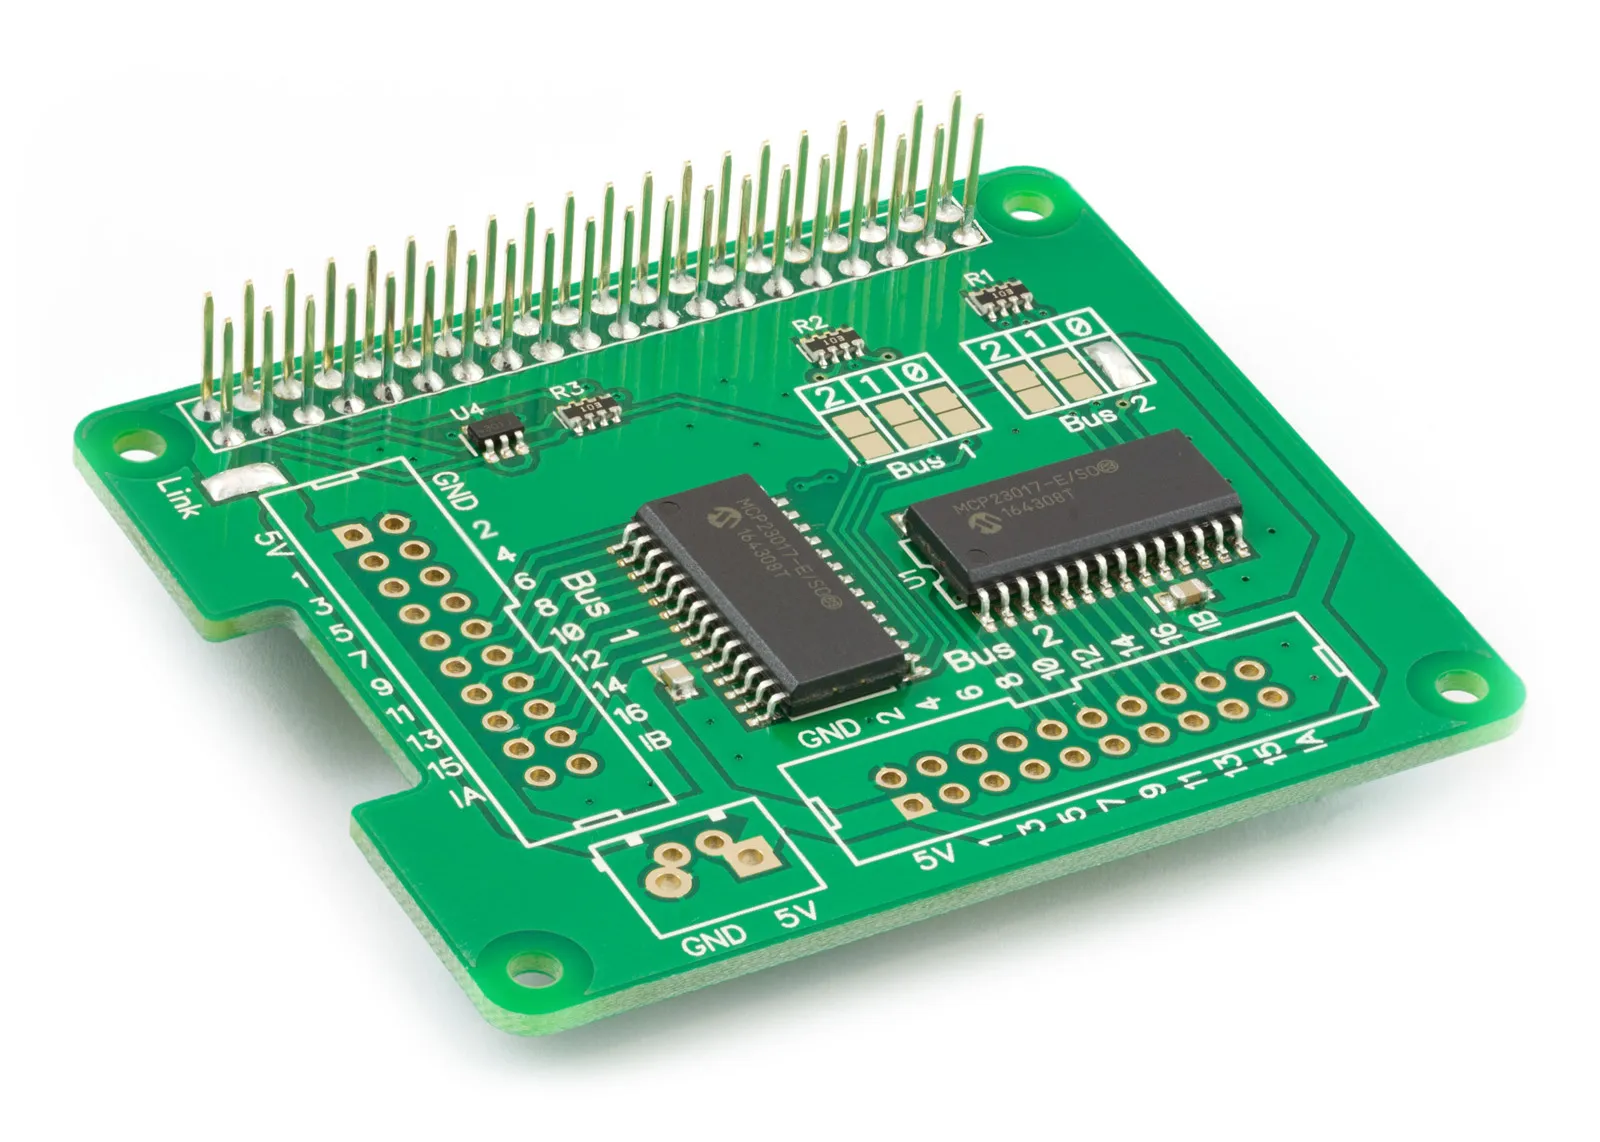
This tutorial will guide you on how to install the Home Assistant Operation System on your Raspberry Pi and enable I2C. This will allow you to use our ADC Pi and IO Pi Plus development boards, as well as many other I2C devices with Home Assistant.
First, we must set up a micro SD card with the Home Assistant Operation System.
You will need the following items:
- Raspberry Pi. Model 3 or later.
- Power Supply for the Raspberry Pi
- Micro SD Card. Ideally, a 32 GB card or larger.
- SD Card Reader
- Ethernet Cable
Installing the Home Assistant Operating System
To install the Home Assistant Operating system onto your Raspberry Pi you can use the Raspberry Pi Imager on Windows, MacOS or Ubuntu
Writing the OS image to your SD card
- Download and install the Raspberry Pi Imager on your computer as described under https://www.raspberrypi.com/software/.
- Insert the SD card into your Micro SD Card reader and connect it to your computer.
- Open the Raspberry Pi Imager software and select your Raspberry Pi.
- Select the operating system:
- Select Choose OS
- Select Other specific-purpose OS > Home Assistants and Home Automation > Home Assistant.
- Choose the Home Assistant OS that matches your Raspberry Pi, i.e., RPi 3 or RPi 4.
- Click Choose Storage and select your SD card.
- Write the image to your SD card by clicking the “Next” button and wait for the file to be transferred to your card.
- When the transfer has been completed, close the Raspberry Pi Imager software.
Before you can use any I2C devices, you need to enable I2C for the Home Assistant Operating System and then set up your I2C devices, such as sensors or GPIO expanders.
Accessing the Home Assistant Boot Partition
To enable I2C you need to access the boot partition on your SD card with the Home Assistant Operating System installed on it and add/edit some configuration files.
If Home Assistant is running, shut down your Home Assistant system, unplug the SD card, insert the card into a card reader and connect it to your computer.
The card should mount as a drive or file system called hassos-boot.
On some versions of Home Assistant and some computer operating systems the hassos-boot partition may not mount automatically. When that is the case you will need to mount it manually. How you do this depends on the operating system you are using.
You can find instructions below for mounting hassos-boot in Linux, Mac OS and Windows.
If hassos-boot does mount automatically you can enable I2C using the following steps.
Open the hassos-boot partition in your file browser/manager.
You must create two new folders and add and edit config files to enable I2C.
In the root of the hassos-boot partition, add a new folder called CONFIG.
In the CONFIG folder, add another new folder called modules.
Inside the modules folder, add a text file called rpi-i2c.conf with the following content:
i2c-dev
In the root of the hassos-boot partition, edit the file called config.txt and add two lines to it at the end of the file:
dtparam=i2c_vc=on
dtparam=i2c_arm=on
Mounting hassos-boot in Linux
All of the steps for mounting the hassos-boot partition in Linux and enabling I2C can be done in a Bash terminal so open your terminal program.
The first step is to find the name of the SD card and the hassos-boot partition. We can do this using fdisk.
sudo fdisk -l
You will see a list of all disk devices connected to your computer. Look for a device with eight partitions similar to the listing below.
Device       Start     End Sectors  Size Type
/dev/sdc1     2048  133119  131072   64M EFI System
/dev/sdc2   133120  182271   49152   24M Linux filesystem
/dev/sdc3   182272  706559  524288  256M Linux filesystem
/dev/sdc4   706560  755711   49152   24M Linux filesystem
/dev/sdc5   755712 1279999  524288  256M Linux filesystem
/dev/sdc6  1280000 1296383   16384    8M Linux filesystem
/dev/sdc7  1296384 1492991  196608   96M Linux filesystem
/dev/sdc8  1492992 4114431 2621440  1.3G Linux filesystem
You need the first partition on the SD card. Look for a partition that is 64M and an EFI System type, this should be the hassos-boot partition. In this example it is called /dev/sdc1. If the partition has a different name on your computer use that name instead of /dev/sdc1 in the commands below.
Before we can mount the partition you will need to create a directory where the partition can be mounted to. We will call the partition “sdcard” and create it in the “/mnt” directory.
sudo mkdir /mnt/sdcard
Next mount the /dev/sdc1 device to the /mnt/sdcard directory.
sudo mount -t vfat /dev/sdc1 /mnt/sdcard
Navigate to the /mnt/sdcard directory.
cd /mnt/sdcard
Two lines dtparam=i2c_vc=on and dtparam=i2c_arm=on need to be added to the end of the config.txt file. We can do this using echo and tee.
echo -e "dtparam=i2c_vc=on\ndtparam=i2c_arm=on" | sudo tee -a config.txt > /dev/null
You can check if the two lines of text were added to config.txt using the cat command.
cat /mnt/sdcard/config.txt
Next we need to create a directory called CONFIG and inside of that directory create another directory called modules.
sudo mkdir CONFIG && sudo mkdir CONFIG/modules
Inside the CONFIG/modules/ directory create a file called rpi-i2c.conf with the contents of i2c-dev.
echo -e "i2c-dev" | sudo tee -a CONFIG/modules/rpi-i2c.conf > /dev/null
The changes to the SD card are complete. Navigate out of the /mnt/sdcard directory and unmount the SD card.
cd ~/
sudo umount /mnt/sdcard
You can remove the SD card from the reader.
Mounting hassos-boot in Mac OS
All of the steps for mounting the hassos-boot partition in Mac OS and enabling I2C can be done in a terminal so open the Terminal program.
The first step is to find the name of the SD card and the hassos-boot partition. We can do this using diskutil.
diskutil list
You will see a list of all disk devices connected to your computer. Look for a device with eight partitions similar to the listing below.
D/dev/disk6 (external, physical):
#:	TYPE 				NAME			SIZE		IDENTIFIER
0:	GUID_partition_scheme   			*63.3 GB 	disk6
1:	EFI 				hassos-boot		67.1 MB	disk6s1
2:	Linux Filesystem					25.2 MB	disk6s2
3:	Linux Filesystem					268.4 MB	disk6s3
4:	Linux Filesystem					25.2 MB	disk6s4
5:	Linux Filesystem					268.4 MB	disk6s5
6:	Linux Filesystem					8.4 MB	disk6s6
7:	Linux Filesystem					100.7 MB	disk6s7
8:	Linux Filesystem					1.3 GB	disk6s8
You need the first partition on the SD card. Look for an EFI type partition called hassos-boot, this should be the correct partition. In this example it is called disk6s1. If the partition has a different name on your computer use that name instead of disk6s1 in the commands below.
Before we can edit any files in the partition we will need to mount it.
sudo diskutil mount /dev/disk6s1
The partition should be mounted to the /Volumes/hassos-boot directory.
Navigate to the /Volumes/hassos-boot directory.
cd /Volumes/hassos-boot
Two lines dtparam=i2c_vc=on and dtparam=i2c_arm=on need to be added to the end of the config.txt file. We can do this using echo.
echo -e "dtparam=i2c_vc=on\ndtparam=i2c_arm=on" >> config.txt
You can check if the two lines of text were added to config.txt using the cat command.
cat config.txt
Next we need to create a directory called CONFIG and inside of that directory create another directory called modules.
mkdir CONFIG && mkdir CONFIG/modules
Inside the CONFIG/modules/ directory create a file called rpi-i2c.conf with the contents of i2c-dev.
echo -e "i2c-dev" >> CONFIG/modules/rpi-i2c.conf
The changes to the SD card are complete. Navigate out of the /Volumes/hassos-boot directory and unmount the SD card.
cd ~/
sudo diskutil umount /dev/disk6s1
You can remove the SD card from the reader.
Mounting hassos-boot in Windows
All of the steps for mounting the hassos-boot partition in Windows and enabling I2C can be done in a PowerShell terminal.
To ensure these commands have the necessary permissions, you need to run PowerShell as an administrator:
Go to Start Button, type Powershell and select Run as Administrator, select Yes on the User Account Control popup to open Powershell
The first step is to find the name of the SD card and the hassos-boot partition. We can use Get-Disk to get an overview of the available disks.
Get-Disk
You will see a list of all disk devices connected to your computer similar to the list below. Look for a device with the name of your SD card reader and a size close to the size of the SD card.
Number Friendly Name Serial Number	HealthStatus	OperationalStatus	 Total Size Partition

0      harddisk SSD  *************	Healthy		Online		256 GB GPT
1      Lexar Pro ... *************	Healthy		No Media		0 B RAW
2      Lexar Pro ... *************	Healthy		Online		58.94 GB GPT
In this example the SD card is connected to disk number 2. If your SD card is on a different disk number use that number in place of 2 for the following commands. We can get a list of the partitions on the disk using Get-Partition.
Get-Partition -DiskNumber 2
This will return all of the partitions on the SD card. If you have selected the correct disk you should see a list of eight partitions similar to the one below.
PartitionNumber	DriveLetter	Offset 		Size 		Type
1                		      1048576		64 MB		System
2					68157440		24 MB		Unknown
3					93323264		256 MB	Unknown
4 					361758720		24 MB		Unknown
5					386924544		256 MB	Unknown
6 					655360000		8 MB		Unknown
7					663748608		96 MB		Unknown
8 					764411904		1.25 GB	Unknown
The hassos-boot partition should be partition number 1 with a size of 64MB. We can verify this using the following command.
Get-Partition -DiskNumber 2 -PartitionNumber 1 | Get-Volume
You should see the details for the partition with a friendly name of hassos-boot.
Before we can use the partition we will need to mount it and give it a drive letter.
Get-Partition -DiskNumber 2 -PartitionNumber 1 | Set-Partition -NewDriveLetter Y
The drive will be mounted as Y:. Navigate to the drive and list its contents.
Y:
dir
You should see a list of files including one called config.txt.
Two lines dtparam=i2c_vc=on and dtparam=i2c_arm=on need to be added to the end of the config.txt file. We can do this using Add-Content.
Add-Content -Path .\config.txt -Value "dtparam=i2c_vc=on`ndtparam=i2c_arm=on"
Next we need to create a directory called CONFIG and inside of that directory create another directory called modules.
New-Item -Path .\CONFIG -ItemType Directory
New-Item -Path .\CONFIG\modules -ItemType Directory
Inside the CONFIG/modules/ directory create a file called rpi-i2c.conf with the contents of i2c-dev.
Add-Content -Path .\CONFIG\modules\rpi-i2c.conf -Value "i2c-dev"
The changes to the SD card are complete. Navigate out of the Y drive and unmount the SD card.
C:
Get-Partition -DiskNumber 2 -PartitionNumber 1 | Remove-PartitionAccessPath -AccessPath "Y:\"
You can remove the SD card from the reader.
Final Steps
Unmount or disconnect the card reader, insert the SD card into your Raspberry Pi and reconnect the power to turn it on.
If this is the first boot of your new Home Assistant Operation System, you will be taken through the onboarding process where you set up user accounts, location and other preferences.
Using a web browser on your desktop system you will be able to reach your new Home Assistant at homeassistant.local:8123 or the IP address of your Raspberry Pi and port 8123
During the first boot it can take over 20 minutes for the operating system to load and configure so don't be concerned if nothing happens for a long time.
When the operating system starts, the hassos-config.service will automatically process the new rpi-i2c.conf configuration.
Another reboot might be necessary to ensure the imported rpi-i2c.conf is present at boot time.
I2C will now be enabled and available for you to connect sensors or development boards to your Raspberry Pi.


